
After generating some interest in Dragon's Tomb with the release of my Mage solo videos, I decided I'd tackle some questions that I've been asked a few times. Due to the length of these answers, I'll break these up into several postings. Look for them in future posts.
Q: What makes up the ideal Dragon's Tomb Party?
A: That's not really as black and white as you think. There are 3 pillars to every successful Dragon's Tomb Party: the Tank, the Damage Dealer, and the Healer. Mindblowing right? Of course not, we all knew that already. But here, it can't be stressed enough. Admittedly there are times when one player can fill multiple roles, such as Tank + DD, and that's typically a charmed, extended Mage, but per the norm, the above three roles are your foundation. Much of the success of your party is determined by everyone's awareness and ability to carry out their defined roles. Those that are unable to can be a significant detriment and danger to the party. While I wouldn't say to immediately kick them, it can be a time to educate them, tactfully.
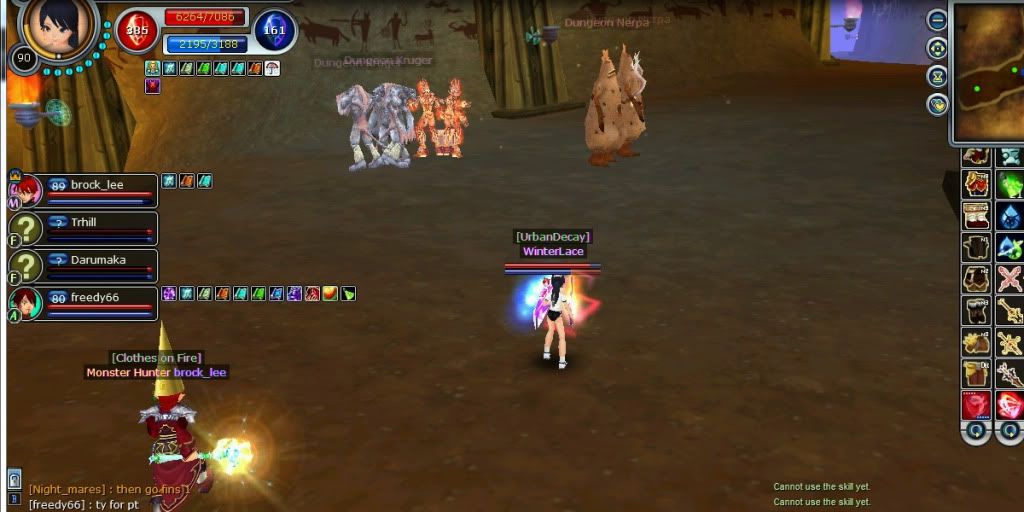 |
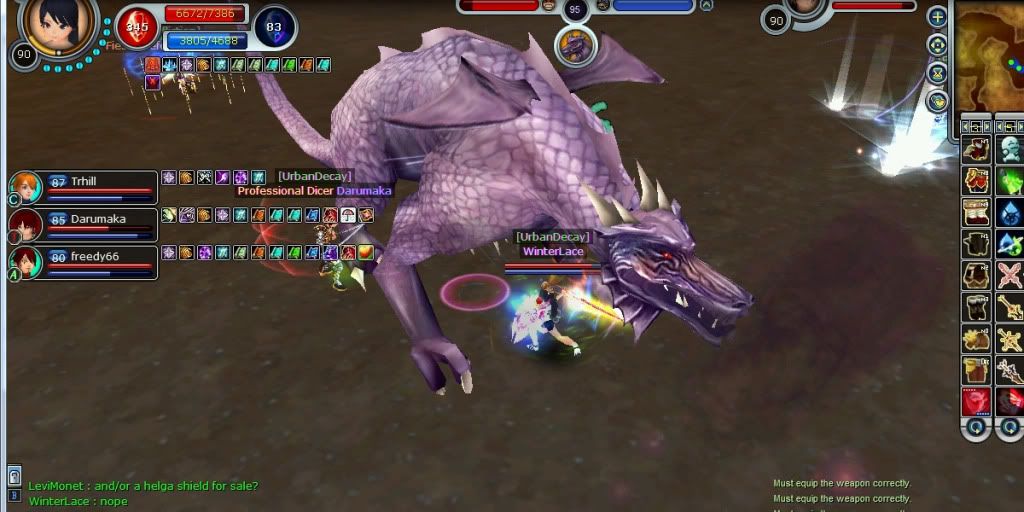
| Tanks ALWAYS manage the battlefield. |
Q: How should I go about Tanking in Dragon's Tomb?
The Tank: The Tank's role in Dragon's Tomb is to manage the battlefield. The Tank needs to be aware of their own abilities, strengths, and weaknesses, as well as have a general knowledge of the other classes' roles and especially the dangers they may face. The Tank should understand positioning of himself as well as those of his party members. He should also be willing to expend money on highest tiered scrolls and potions to keep himself alive as well as to ease the burden placed on the Cleric.
As a Tank, you need to be extremely aware that it's not the Cleric's job to only focus healing on you. Yes, you are of extreme import to the success of the party, but so are the Damage Dealer and the Healer. The Cleric needs to keep tabs on everybody, so when the Tank is unwilling to take the necessary steps in order to ensure his own survival, that becomes a detriment to the team. The Cleric then has to focus more effort on healing only the Tank, and may not be able to dish out heals to the rest of the party when they desperately need them.
Remember, killing mobs is not the role of the Tank. The Tank is there to protect the party from taking damage by maintaining as much aggro as possible. I use the term 'Aggro Switching' to describe this technique. Essentially, what the Tank wants to do is spread out damage as much as possible instead of focusing on only one mob at a time. By distributing damage to multiple targets, and I don't mean by only casting Devastate and WhirlWind, you keep your aggro rating high. Remember, if you're not actively attacking or casting aggro grabbing skills, you are losing aggro to both the Healer as well as the Damage Dealer. Once the scale tips to them, the mob will immediately leave you and redirect their aggression towards them. If these are ranged mobs, multiple mobs may target a single individual killing them quickly giving them no chance to react.
Managing the battlefield also requires knowledge of the mobs and types of attacks they generate. For example, Nerpas and Flame Spirits both generate ranged attacks. The chances that these mobs will focus attacking on the Cleric are extremely high because they're typically away from the Tank and the Tank only casted a cursory Mock on them as he entered the battlefield. With these types of mobs and most mobs actually, I always toss a Demoralizing Hit at them first. This intiates a small bit of aggro grab their way as they begin attacking me, the Tank. I try to lure all of the melee-type mobs (Gargoyles, Krugers, Caravans, Flame Shellas) into a pile with the ranged mobs so I can hit them all with Devastate. Once the AOEs start dropping courtesy of the Damage Dealer, that's when I cast Mock. Casting Mock now as opposed to earlier is a better way of maintaining aggro on all of the mobs at least that's what I've experienced.
 |
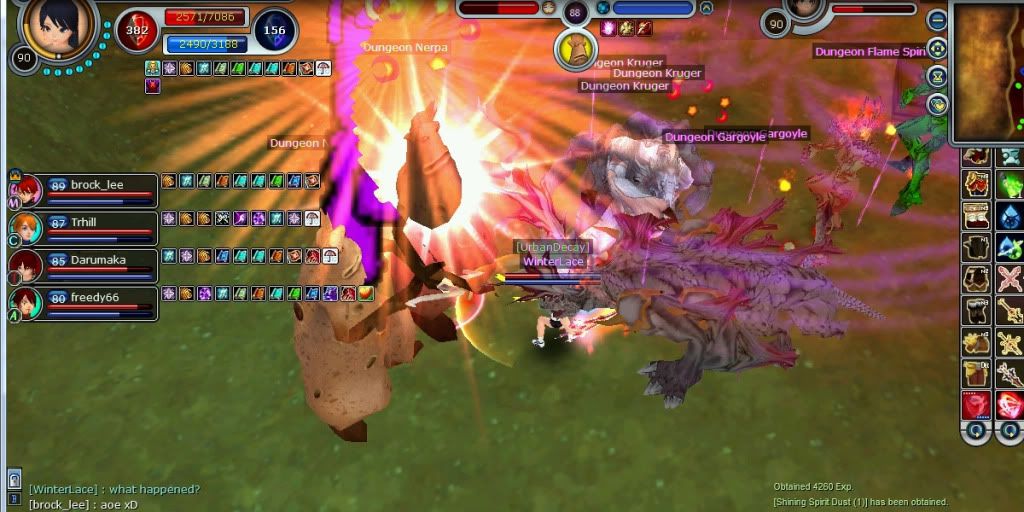
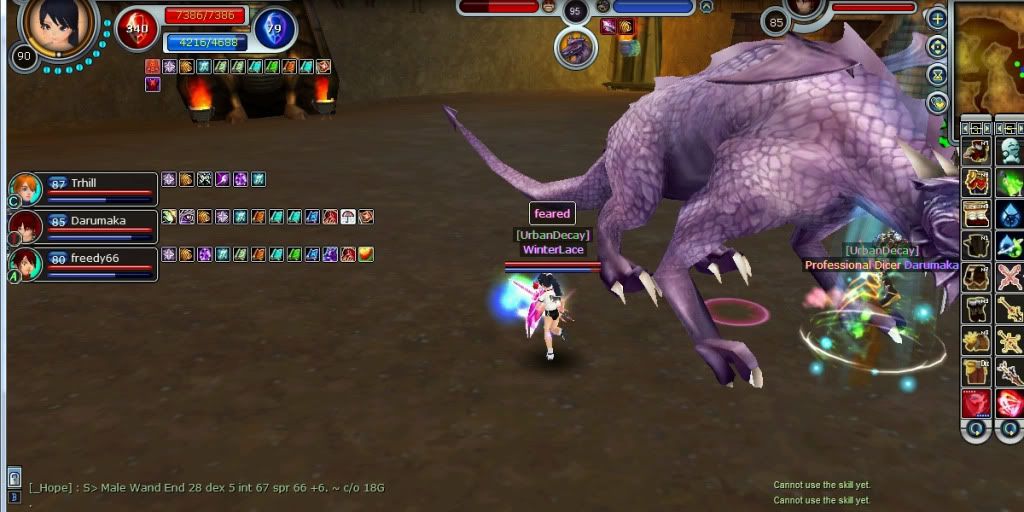
| You will get Feared, stay calm, re-establish aggro quickly. |
Dealing with Disarm isn't too bad. By now, you should have your weapon and shield hotkeyed. Be aware which Bosses disarm which item, because it varies. For example, both Titan and Magmaton will disarm a shield, but not a weapon, whereas Cornelius will disarm a weapon, but never a shield. What does this mean? Well in the case of Titan, I usually take care of him using an Axe. He hits tremendously hard so the faster you can take him out, the better. I hotkey my Tank's weapons to my number pad, using "*" for the Axe, "-" for the 1h, and "+" for the shield.
Set switching in Dragon's Tomb. If you really consider yourself a pro at it, but be real here, don't get your ego involved, then I would say go for it. But if not, then I would just leave it be, stay in your best armors and don't risk the party's well-being to shave a minute or two off of your run, it's not worth it. You may have Blessing of Teva, but your party members may not. If you want to practice set switching here, it's a good idea to let your party know beforehand. If you're normally wearing +9 75s and suddenly set switch into +0 35s just for an effect, your defense basically falls off a cliff. You need to know the right time/place to do it. Typically with a Mighty Set (which increases the +DMG gain on Vitality by 20% as well as lowering the CD by 20%) you switch into it just before a big fight, then switch back before charging head long into battle. But again as I mentioned before, it's not the Tank's job to necessarily wipe out mobs. I assign my sets to my number pad as well, using "7 8 9" as my normal armors, "0 ." for my Slash Set (since it's two-piece), and "1 2 3" for my Mighty Set.
Final Boss Fight - Cornelius. When you enter the final room in Dragon's Tomb using the Gold Key, the ranged DDs will typically pull out the mobs that surround Cornelius, there are a few Fire Shellas, Caravans, and Flame Spirits hanging around. Once they're put down, it's time to start the final battle. As the Tank, again you manage the battlefield, be sure everyone is ready before you begin. Make sure you're scrolled up, and the Cleric has all the necessary party buffs active. Now that everyone's set, go at it!
I typically start Cornelius with an obligatory Kick and Demoralizing Hit to establish aggro. Demoralizing Hit is a skill that I will spam everytime it's ready. The primary reason for this isn't to just maintain aggro, but it's also because of the debuff that's inflicted. Demoralizing Hit lessens the physical damage that Cornelius kicks out. While that may not be life or death for you, it certainly may be for everyone else in your party. A full +9 Fighter with +9 shield has about 1100 more defense than a full +9 Mage that's pretty significant, imagine a +0 Mage? Spamming Kick isn't all that necessary.
The fight isn't too complicated, when Cornelius crawls backwards, he's about to disarm you with a charging-type attack. Once he does, simply re-equip your weapon. However, being the glitchy game Fiesta is, sometimes you'll have to do it again. You first re-equip and can sometimes cast a few attacks, however you'll notice that your skill windows went red meaning that you either ran out of SP or you don't have a weapon equipped even though you see yourself still swinging it. In this case, you'll have to unequip and re-equip again so that you can get full control of your skills again.
Cornelius also has a 'Death Breath" debuff that damages you at the rate of 486HP per second. It can be quite lethal when teamed with his high damage physical attacks. This can be cured by Clerics, however it's always a good idea to keep some T3 Cures on hand just in case your Cleric is unable to cure you in time. Do keep in mind that a T3 Cure shares cooldown with your Potions, so time its use wisely.
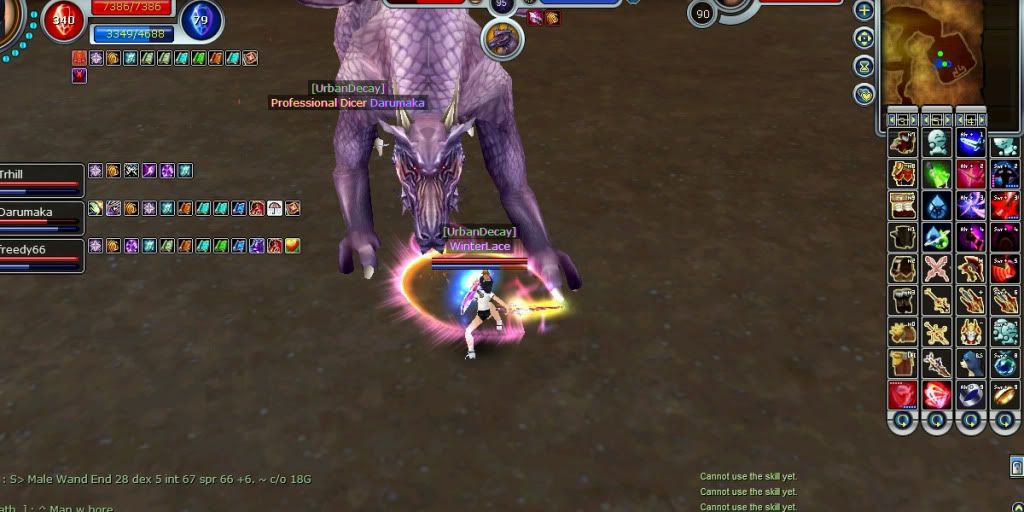 |
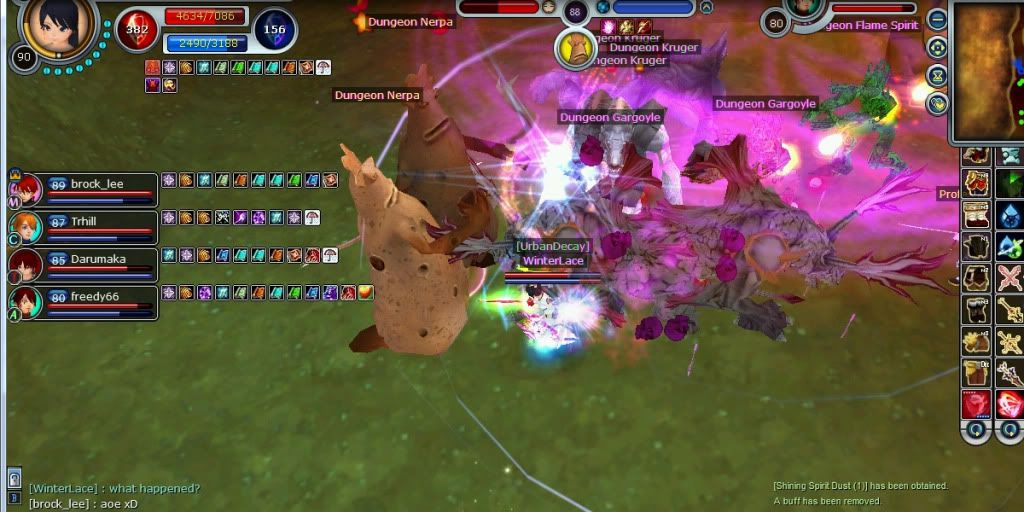
| Same as the rest, get Feared, re-establish aggro. |
As mentioned before Cornelius also employs a Fear attack. Once Feared, you will lose aggro to the Boss and start randomly running. Once Fear has worn off, hurry back and re-establish aggro. Typically a Kick followed by Demoralizing Hit, Mock, Slice-and-Dice, and another Kick will regain aggro depending on the actions of your subtank (if you have one), DD, or Healer, regaining aggro isn't too difficult.
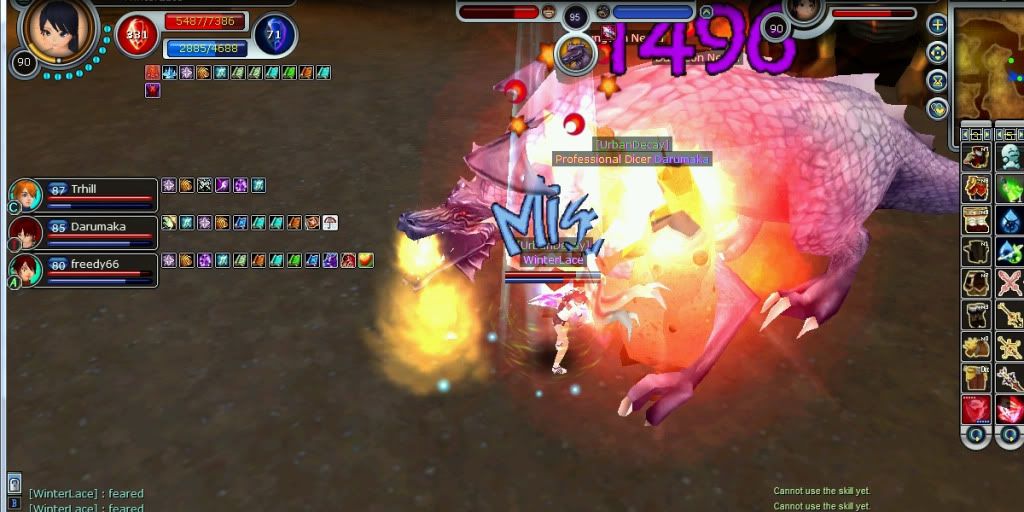 |
| Reserve Devastate for the spawned mobs. |
Once those spawns are all taken care of, it's a straight fight once again and it's typically over quickly. Again, if you get Feared, definitely make the others aware so they can modify their responsibilites/tactics accordingly.
Very good guide Fatal ^^
ReplyDeleteWell written and complete as far as tanking goes. Can't wait to read the rest.
I would like to read what you have to say about sub-tanking, though (but that's mainly necessary for bad happenings on Cornelius fight)
Major Help for my Fighter :D I've had problems tanking in there lol as I'm still pretty much used to my cleric
ReplyDelete